When you’re as passionate as we are about the tiny details of your home interior, decorating your Christmas tree can be an involved process. The tree is the focal point of your home throughout the festive season and sets the theme for the rest of your Christmas décor.
If you’ve ever felt overwhelmed trying to make your tree look as beautiful as possible while having all your favourite decorations on show and perfectly placed, we are here to help.
We’ve created the ultimate step-by-step guide to make decorating your tree a joy from start to finish (mulled wine optional):
CHOOSING YOUR TREE
First choose the spot in your house where you’ll place the tree and measure the height and width; taking exact measurements will ensure that the tree doesn’t overwhelm the space.
If you can, support a local Christmas tree farm where you can often choose your own tree and have it cut down on the spot! Remember that a freshly cut tree will last a lot longer than pre-cut trees.
Most trees in garden centres have been cut weeks before heading to shops, meaning they’ll be quicker to needle-drop and won’t last as long.
PREPARING YOUR TREE
Cut the bottom inch or two off your tree (skip this step if your tree was freshly cut) and give it a good soak for at least a few hours before bringing it into the house to allow the tree to become fully saturated.
If your tree will be placed next to a radiator, make sure to turn it off to avoid drying out the branches.
Secure your tree to its stand, making sure that it’s standing up straight, and then turn the tree until its ‘best side’ is most on show. Once you’re completely happy with the placement, it’s time to start dressing the tree!
START WITH LIGHTS
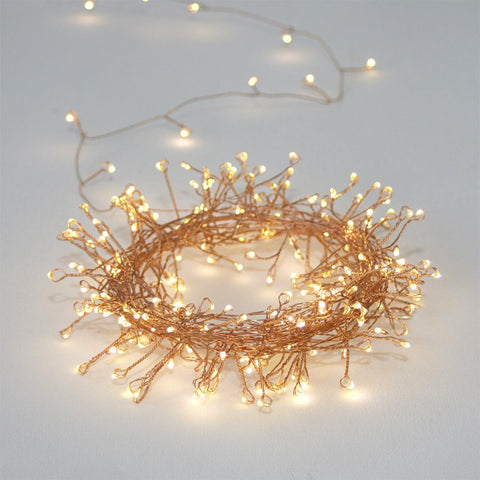
We recommend approximately 100 bulbs (5 metres of lights) per 2ft of tree, so for an average 6ft tree you’ll need about 300 bulbs or 15 metres of lights. This year we’ve used our
Copper and
Silver Wire LED Fairy Lights which are available in two lengths for different tree sizes.
Plug the lights in and start at the bottom, wrapping them around the tree keeping fairly close to the trunk. Once you reached the top you can wrap back down, spreading the lights further out from the trunk and making sure the tree is well covered.
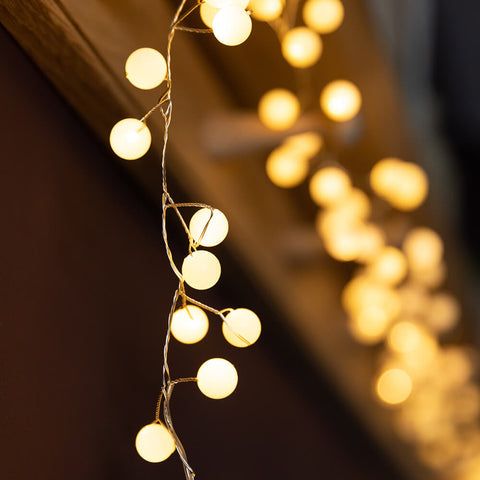
Now you can add in any decorative lights for an extra wow factor in addition to your ‘base’ lights (try our
Candle Tree Lights or
Snowberry Lights). Just be sure to set all lights back slightly from the tips of the branches, to leave room for baubles and ornaments.
ARRANGING YOUR ORNAMENTS
When selecting your ornaments, aim for a variety of shapes and sizes as this will make it easier to fill gaps in the tree. Sticking to a colour palette will ensure the tree looks considered and coherent. We love bauble sets that have a mix of shapes and sizes such as these Aged Smoked Ngolo Baubles as they achieve variety without clashing.

Start by laying out all the baubles and decorations you plan on dressing the tree with. Split your tree into three sections (bottom, middle and top) and then divide your decorations into a group for each section. This will ensure that your ornaments are well distributed for a beautiful, balanced tree.
If you have beaded garlands or tinsel, add this after lights and before baubles, to avoid baubles getting tangled and make it easier to dismantle at the end of December.
Start from the bottom of the tree and work upwards, taking care not to forget the back of the tree as this may still be visible from certain angles. Adding decorations in odd numbers will help to achieve an even distribution.
Mini baubles or mini sprigs, such as our
brass leaf decorations are a great way to fill gaps, and are light enough to sit on weaker branches and fill spaces around larger baubles.
DIY DECORATIONS
Homemade decorations are a fabulous budget- and planet-friendly option and make for a lovely activity to enjoy with children. Making garlands is easy and cost effective; why not try one of the ideas below:
Popcorn – Simply string popped popcorn onto a length of string threaded through a large sewing needle. Try coloured string for an extra pop.
Wooden Beads – Add wooden beads to coloured string or jute craft twine, tying knots on either side of the beads to hold them in place.
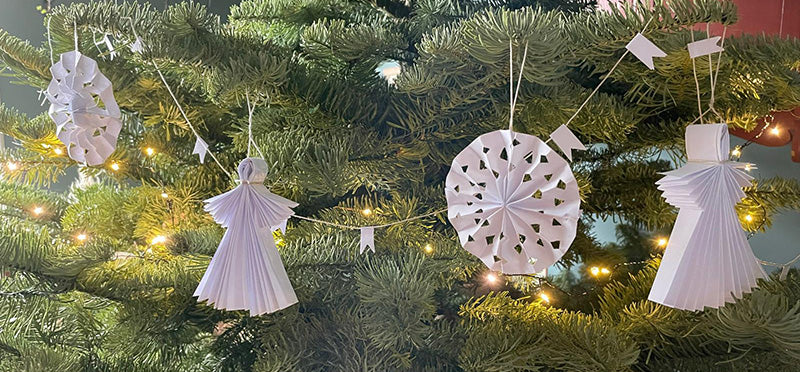
Paper – Cut stars, rectangles or circles out of coloured paper and fold these over a length of string, stapling or gluing at the fold. This is a great way to recycle wrapping paper or sweet wrappers from all the Christmas chocolates that may be consumed at this time of year!
FINISHING TOUCHES
Last but certainly not least, it’s time to top your tree. Keep your tree looking classic with a traditional angel topper, or a star in any shape or size. If you don’t have a topper to hand, we love using wired ribbon to tie a large bow around the top stem.
Once the tree is complete, add a skirt or cover around the bottom to hide the stand and light wires.
For a quick DIY cover, simply wrap some hessian fabric or plain brown paper around the base and tie a bow with ribbon.
TINY TREES FOR SMALL SPACES
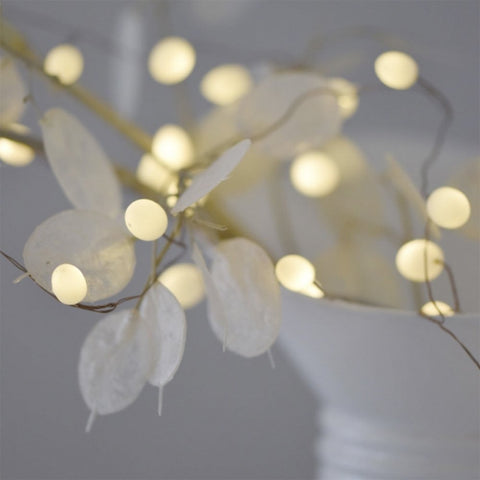
If you don’t have room for a large tree, placing a small tree on a sideboard or table will bring it up to eye level without overwhelming the space. For an even more minimal look, why not gather a few branches from the garden or on your next walk, and place these in a vase or jug filled with sand or stones.
You can decorate this ‘mini tree’ with lights and small ornaments. Our wire lights are great for this as you can manipulate the wire around the branches as needed, and they’re more decorative than the plastic wire you’ll find on standard fairy lights. We love these
jewelled fairy lights in a festive red, or this
opaque teardrop set.